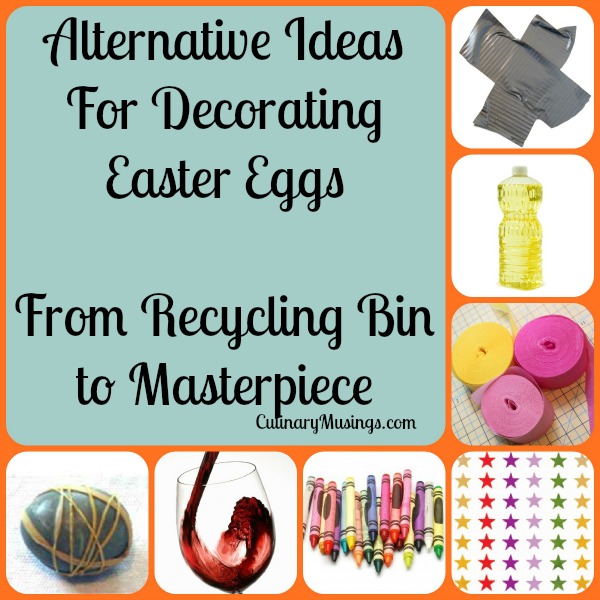
Easter egg dyeing and decorating can be as easy as dipping a dozen eggs into dye from a store-bought kit. Or it can be a lot more creative and fun. Who needs a kit when you can just pull materials out of your compost pail and garbage can?
Natural Easter Egg Dyes From the Kitchen
Cabbage leaves, onion skins, lemon peels. The parts of fruits and vegetables that get discarded make the best dye materials. Use them to make beautiful dyes before you toss them into the compost or stuff them down the disposal.
Here's a color chart to get you started, but use your imagination too. Don't be afraid to experiment.
- Blue: blueberry juice, red cabbage leaves
- Yellow: turmeric, lemon peels
- Orange: orange peels, yellow onion skins
- Green: fresh herb leaves and stalks (cilantro, basil, etc.)
- Red: red wine, red onion skins, paprika, raspberries
- Purple: blackberries, grape juice
You'll need several saucepans because, in most cases, you place the dye material in the pan with the eggs as you boil them. For 1-2 eggs, use about 2 cups water, 1 tablespoon vinegar (it's required to help set the color on the egg), and a handful or two of the dye material. More is better because it creates a deeper color.
Here, we used the outer leaves of a purple cabbage head and purple onion skins in one pot. The other contains the peel from an orange and yellow onion skins.

Place the eggs in the pans and boil them. Check the color. If you want a deeper color, let the eggs sit in the dye until they reach a shade you like.
 Cooking isn't always required. If you're using red wine, you can place the hardboiled egg directly into the wine. You can also use red wine vinegar or grape juice.
Blueberry juice is another dye that doesn't require cooking, but it does need a tablespoon of vinegar. Blueberries are expensive, so we used the juice from a can of blueberries that came with a box of blueberry muffin mix. Instead of pouring it down the sink, dye some eggs.
It's easy to create an interesting marbling effect. Add a tablespoon of cooking oil (any kind) to the dye (after it cooks!) and dip the egg in it. The dye won't "take" evenly and you get an interesting pattern.

The natural dyeing process takes longer than commercial dyes, but you can get an amazing variety of colors. The longer the eggs sit in the dye, the deeper the color.
Decorations From the Trash Bin
The dyes are pretty by themselves, but it's also fun to use other materials to decorate the eggs. Most are readily available right in your kitchen or at your desk.
Rubber bands: Wrap them tightly around the egg before you dye and create an interesting pattern. Use a mixture of wide and narrow bands for a varied design. 
We covered this egg with rubber bands before boiling it with the cabbage and onion skins.
Tape: Just about any type will work – except clear tape (the type you use to wrap gifts). Tear off small strips to make dots, stripes, and other designs. Be careful though. It's difficult to get the tape edges completely flat because the egg has an irregular shape. Be prepared for some feathering on the edges, and consider it part of the decoration!
This egg used duct tape and the orange peel/yellow onion skin dye mixture:

Clear nail polish: Use it to make dots or draw designs on the egg. Let it dry completely before dyeing. You can also combine it with other techniques. Here, we created a striping effect by painting the polish between and along the outside borders of wide rubber bands.

Wax and crayons: Drip melted wax on the egg or draw on the egg with a crayon before dyeing. Note that drawing on an egg isn't easy! The end result is subject to the limitations of the artist.
Crepe paper: This is a great use for those rolls left over from the last office get-together or pet birthday party. The color comes out very easily when the crepe paper gets wet. Instead of letting it ruin your white blouse or tablecloth, use that quality for a good purpose: egg dye.

Here, we used 2 cups water, 1 tablespoon vinegar, and a double handful of crepe paper.
Colored salt: This technique requires dying the salt, not the egg. Use ¼ cup table salt, add some food coloring, and mix with a fork until the color is evenly distributed.
Use a small brush to lightly coat the boiled egg with white glue. Roll egg in salt mixture and set aside to dry. You can also use glitter instead of salt. It's ten times messier, but creates an eye-catching prize egg for your hunt.

Stars and dots adhesives: Use small stickers to create interesting patterns on the eggs before you dye them. Don't try this if you're boiling the eggs in the dye material because the stickers will come off. But, if you're using commercial dye or non-cooked dye (like red wine or blueberry juice), then it works great.
Here, we used stars and dipped the egg in blueberry juice for one egg. For the other, we used adhesive dots and regular egg dye.

Textured, wrapped eggs. Feeling really ambitious? If you have some extra, textured wash cloths or kitchen cloths, try wrapping them tightly around the egg before dyeing. Wrap the outside in rubber bands or twist ties to press the cloth tightly against the egg.
You can then boil the egg in a natural dye or dip the already-cooked egg into a bowl of prepared dye. Drain the egg for a few minutes before unwrapping to help set the color.
Here, we used part of an old kitchen towel, wrapped it tightly, secured the ends with twist ties, and wrapped rubber bands around the outside. It's messy, but creates a nice textured effect.

Extra Dyeing Tips
Here are a few other considerations when you're dyeing and decorating eggs!
• Homemade dye from food coloring: It's easy to make your own dye from food coloring. Use 1 tablespoon vinegar, one cup of water, and add drops of food coloring until you get the desired shade.
• Natural dyes may impart flavors: Don't plan on eating the eggs after you've used natural dyes made from food with a strong taste. Some eggs will absorb cabbage, onion, or herbal flavors that may not be welcome in your egg salad.
• Give the eggs a shine: Lightly coat the eggs with vegetable oil after dyeing. It will add shine that perks up the color and makes your creations look like little, round jewels.

Have fun! There's no wrong way to dye and decorate eggs. If the color bleeds under the tape or rubber band, if your crayon design looks like a dinosaur instead of a bunny, so what? Just relax and have a good time.


